How to make a payment with VNPay
Requirements
This tutorial requires the installation of the following applications/modules:
Install VNPay Payment Acquirer
VNPay is an intermediary payment solution connecting business units with banks, allowing customers to use it to pay online for transactions. Viindoo Enterprise Management Software provides a solution to link online payment via VNPAY with the Sales app for a convenient payment process.
To install the module, go to Apps, and enter the keyword vnpay to the search bar. Select the VNPay Payment Acquirer module and press Install.
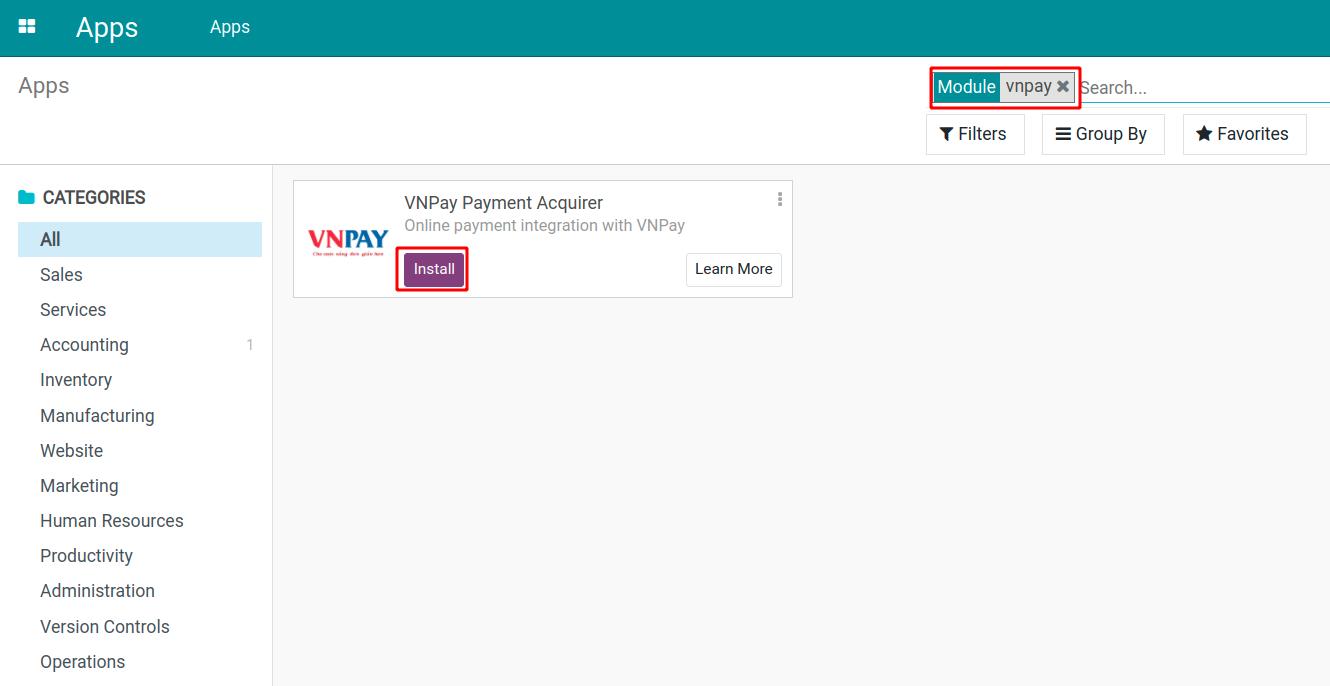
Once the installation is done, VNPay will appear as a new payment acquirer on the payment acquirers list and you can start setting up the payment information.
Note
This article uses test mode for the payment instructions.
Configure payment information
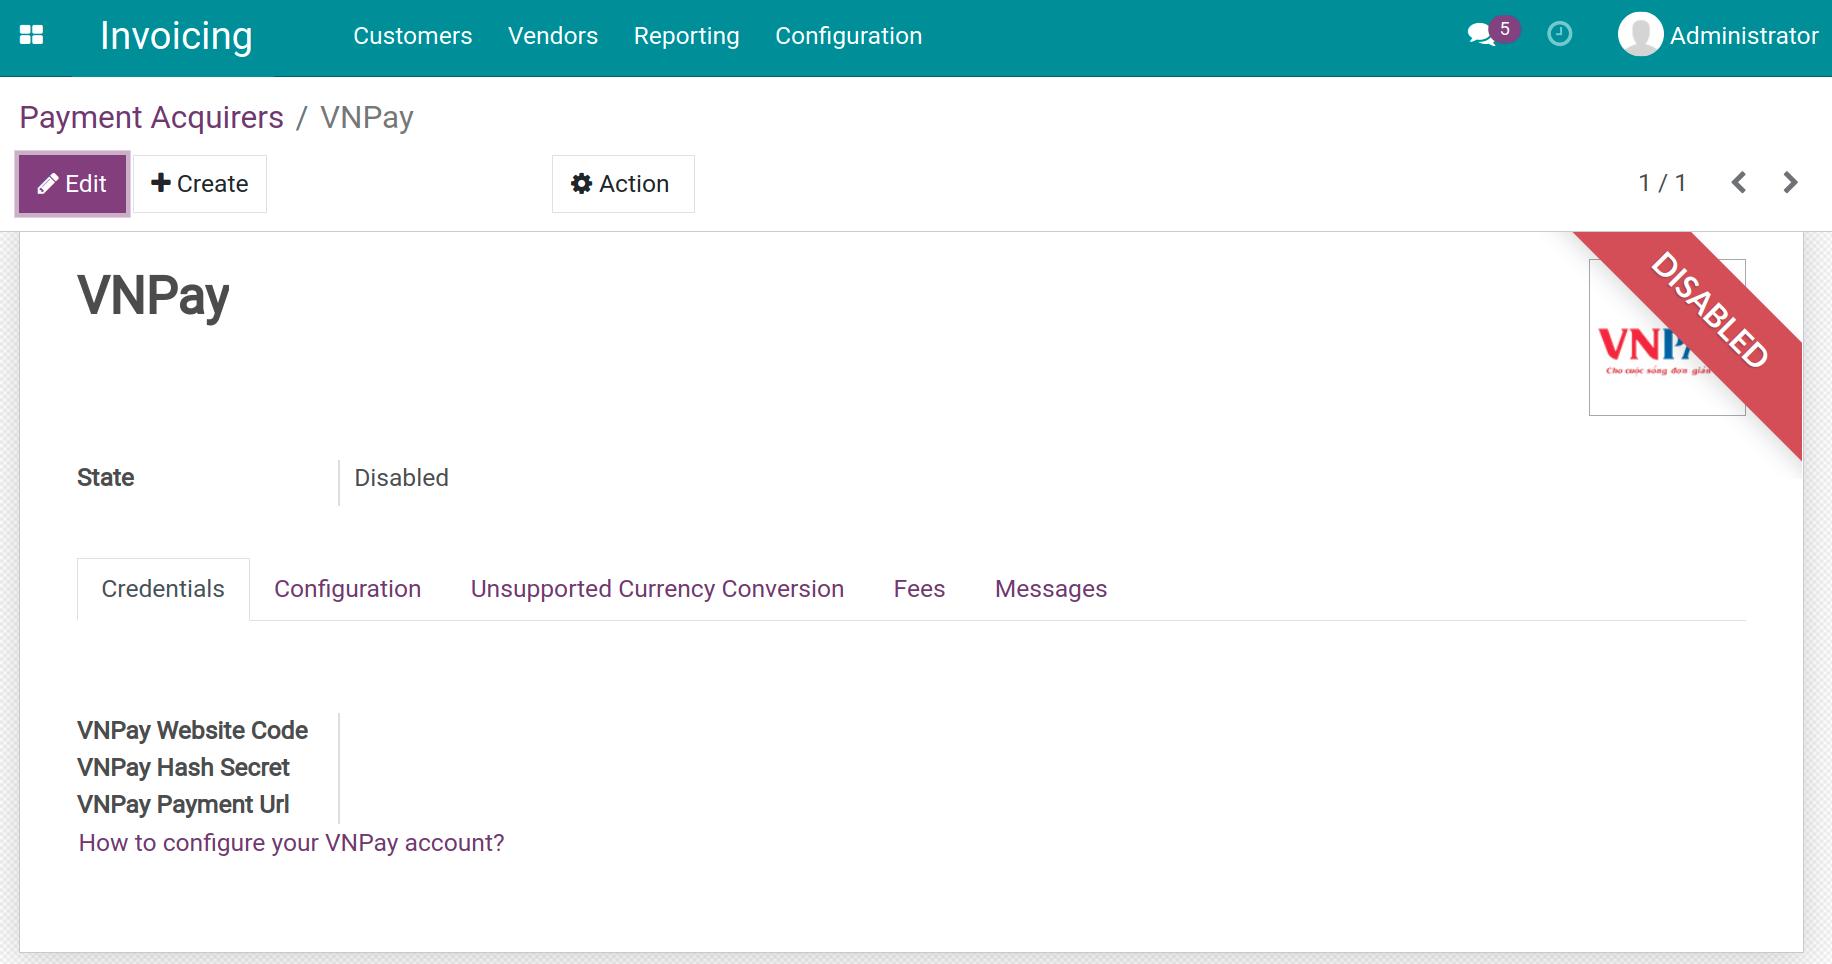
Once the payment acquirer integration is successfully done, the vendor needs to register a payment account with the VNPay provider. After that, add information about this newly registered account into the Viindoo system. Navigate to Invoicing > Configuration > Payment Acquirers, and choose the VNPay payment acquirers to configure detailed information.
In which:
VNPay Website Code: Website code provided by VNPay.
VNPay Hash Secret: Hash secret provided by VNPay.
VNPay Payment Url: VNPay online payment link.
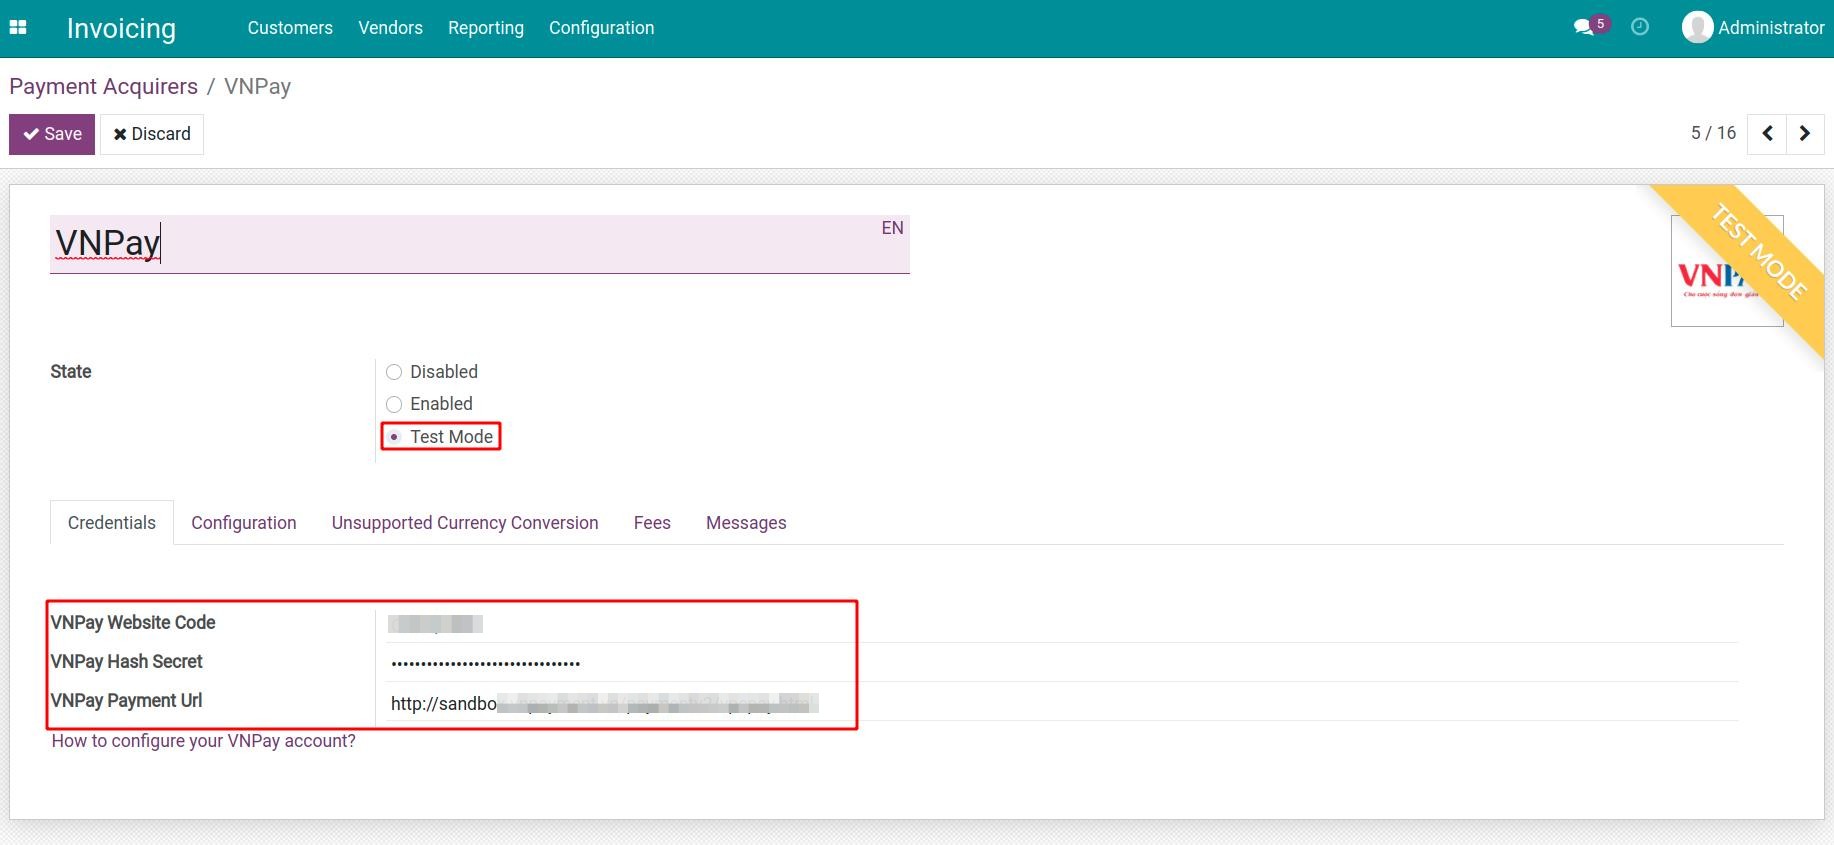
Press Save to complete the VNPay integration.
Note
For more information, please refer to How to configure your VNPay account?
Make payment via VNPay
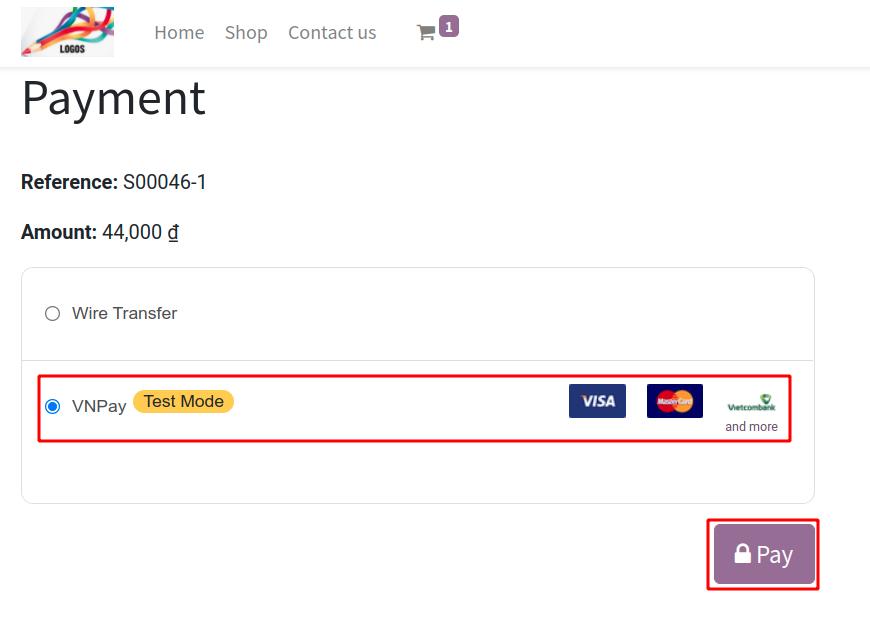
Suppose that you receive a payment request for an invoice from a vendor. You need to go to that request and start the payment process. In the payment step, choose VNPay.
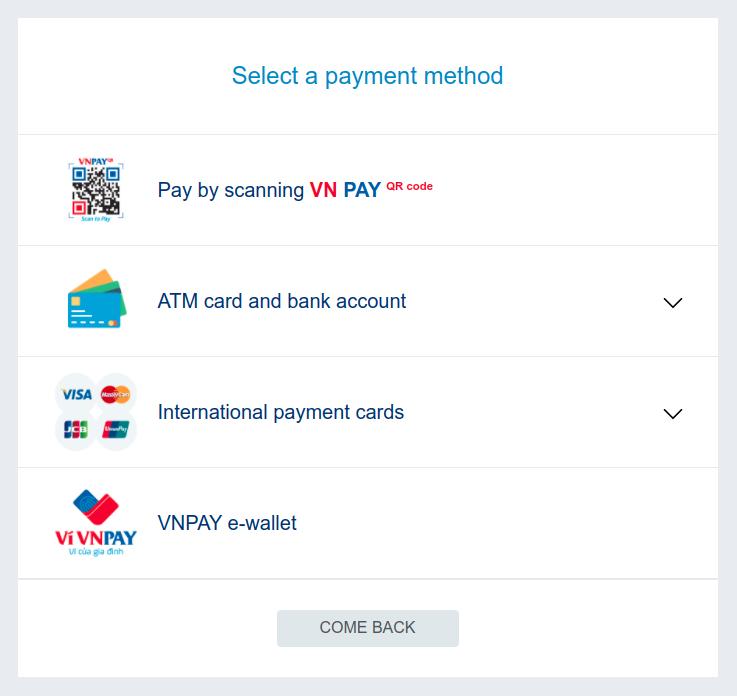
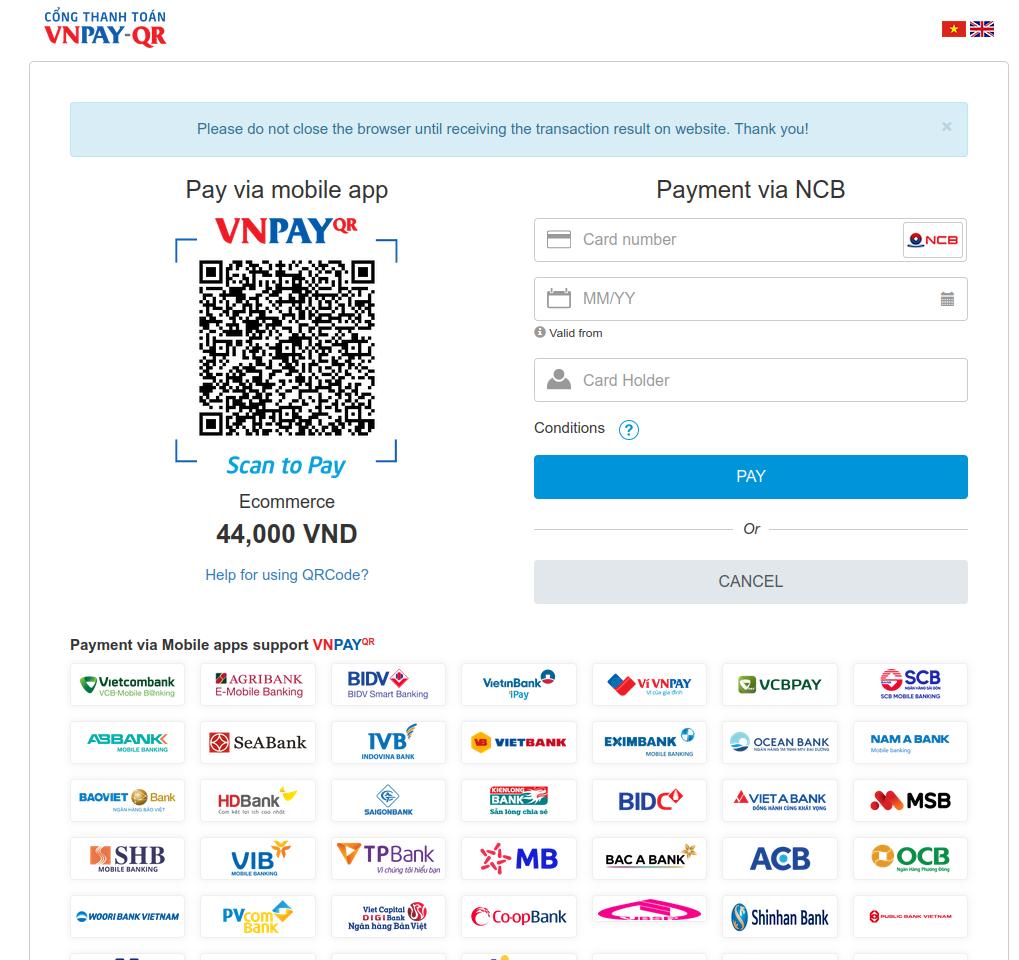
The system will redirect you to the VNPay payment interface. Choose your desired payment method, for example, choose an ATM card and bank account.
Add the card information for the payment.
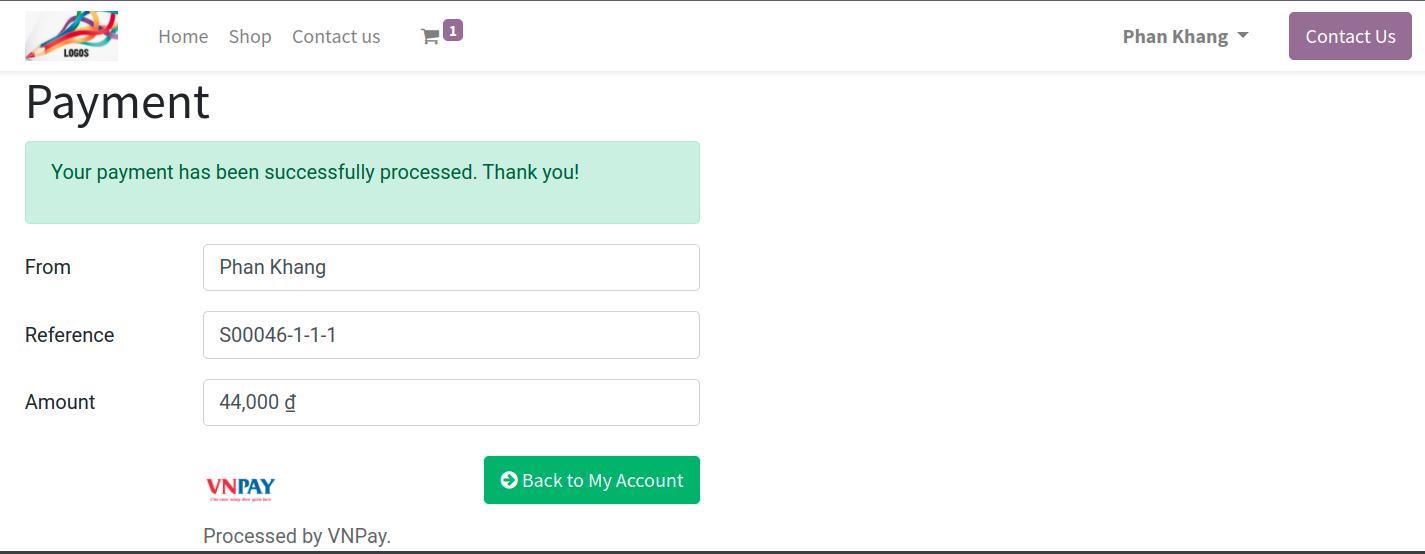
Once done, the system will display a notification informing you that the payment has been successfully processed.
Your payment will be registered on the vendor’s system. The transaction history will be logged on the chatter of the sales orders.
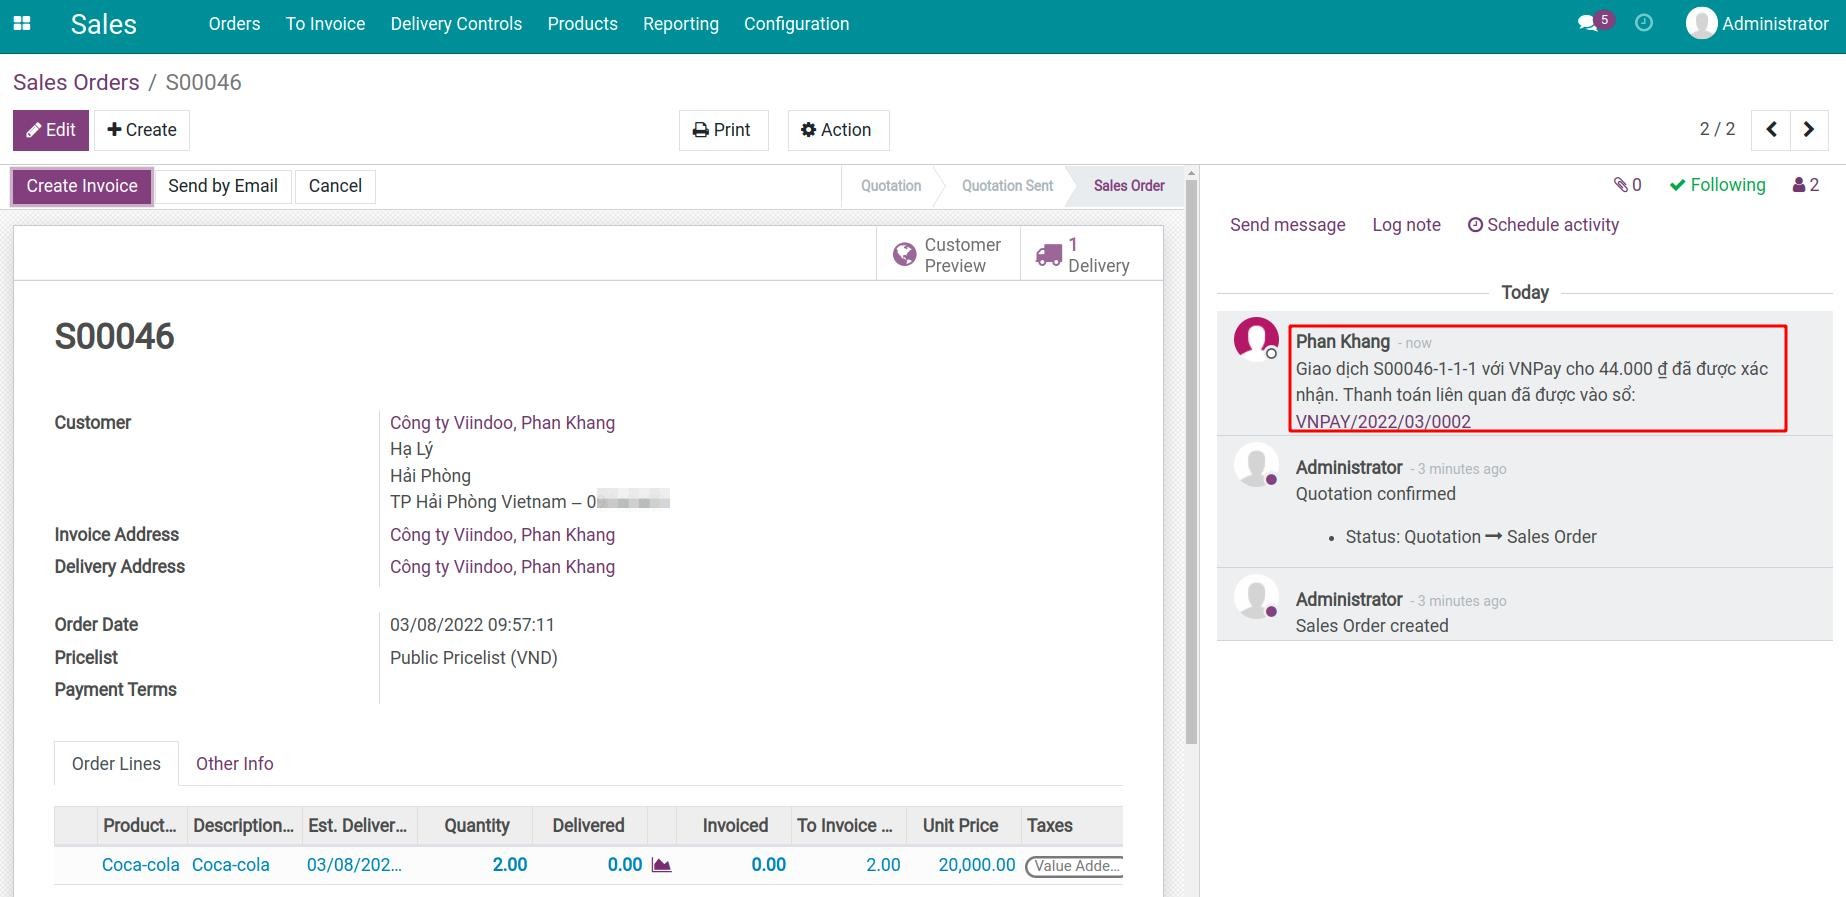
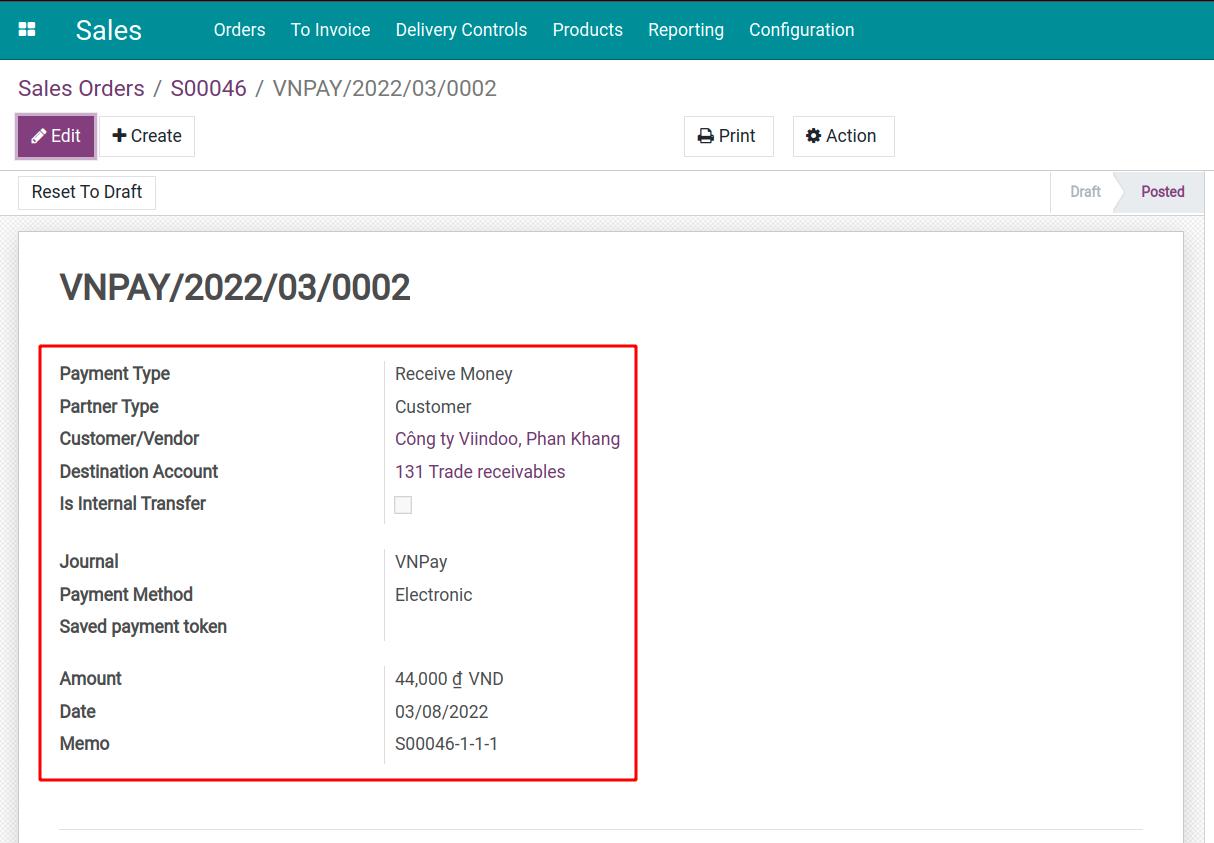
Click on the payment code from the transaction history above or navigate to Invoicing > Configuration > Payment Transactions and select the respective payment code which contains the payment details.
See also
Related article
Optional module