Vehicle Management
Effective vehicle management helps businesses optimize costs, ensure smooth operations, and improve efficiency. This document provides detailed guidance on using vehicle management features, from vehicle registration to cost analysis, making it suitable for any business looking to manage its fleet effectively.
Requirements
This tutorial requires the installation of the following applications/modules:
Initial Configuration
Manufacturers
In the application, several popular automobile manufacturers along with their respective icons have been pre-configured. To view the available manufacturers, navigate to Fleet app ‣ Configuration ‣ Manufacturers.
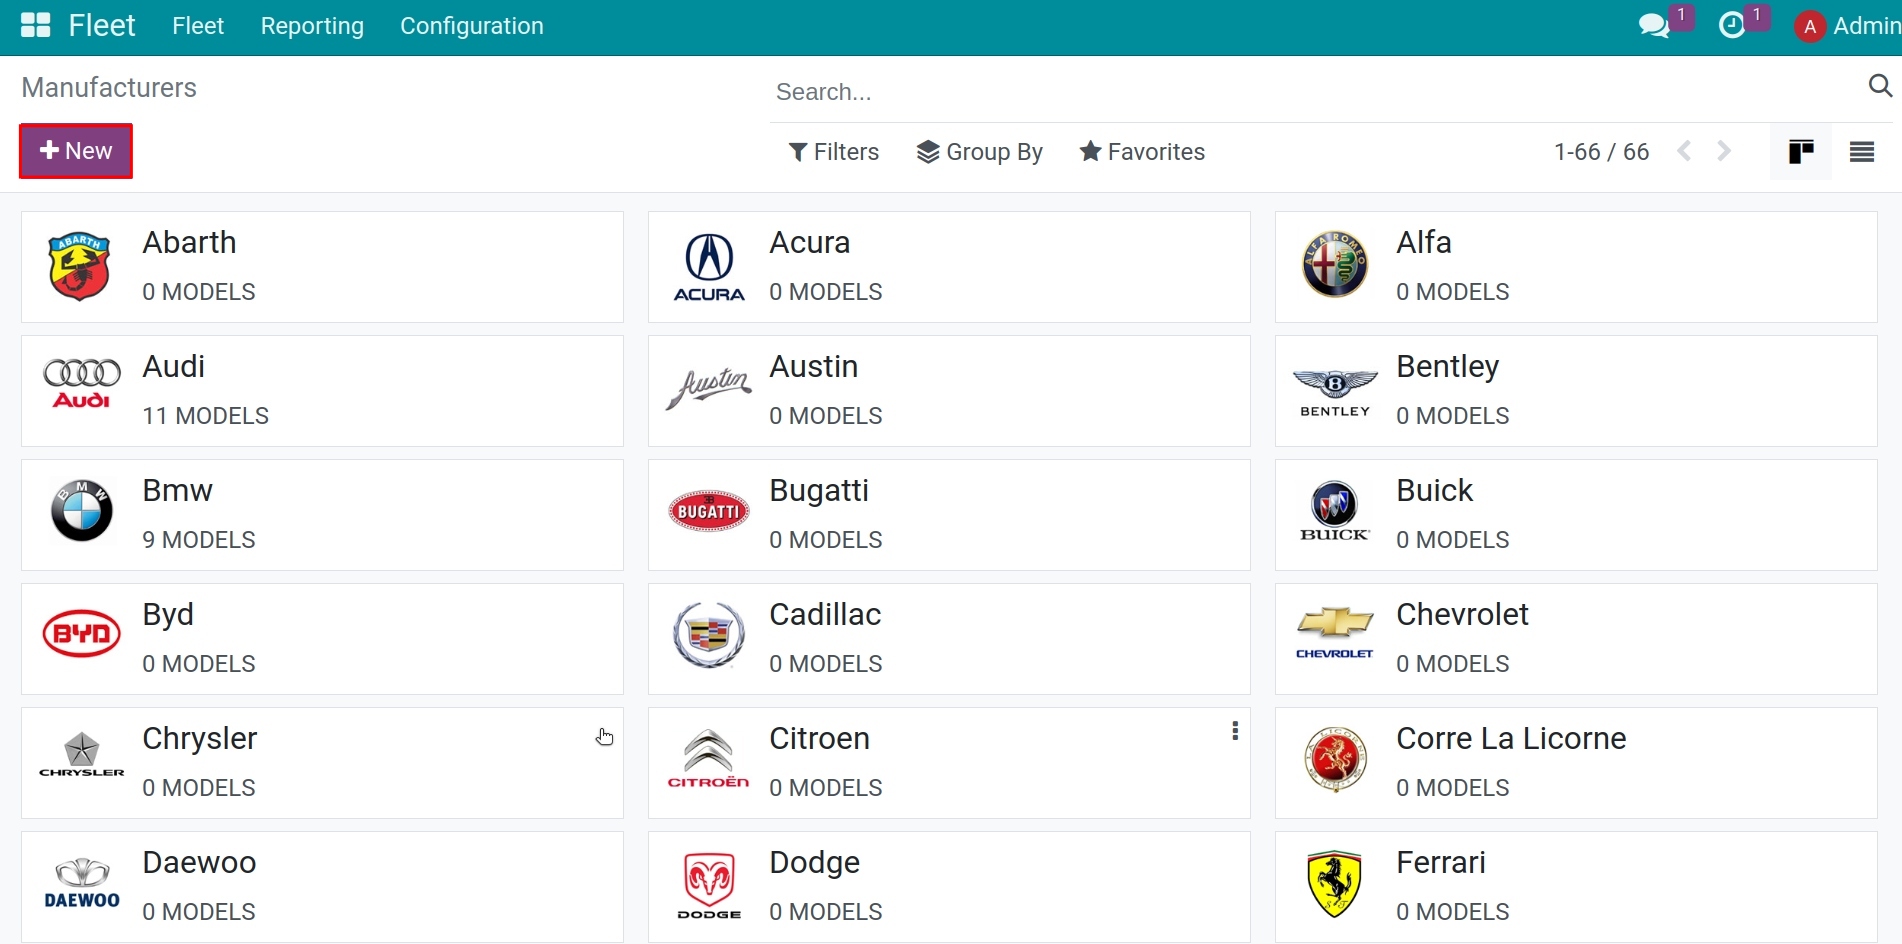
The vehicle manufacturers are displayed in alphabetical order. Each manufacturer’s tab also shows the number of vehicle models available.

You can create additional manufacturers by clicking on New and entering two pieces of information:
Manufacturer’s name;
Manufacturer’s icon.
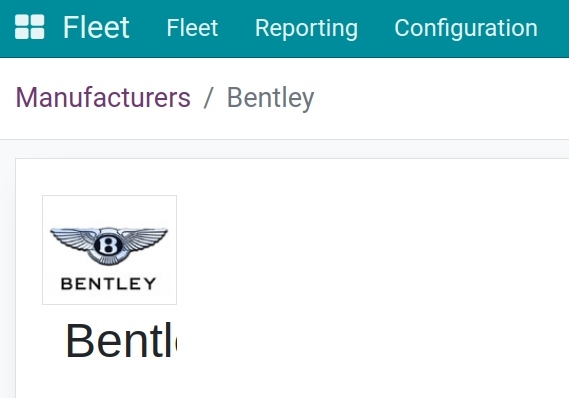
Save to complete the addition of a new manufacturer.
Models
Each manufacturer has many different vehicle models. The application also pre-configures some popular models from various manufacturers. Access Fleet app > Configuration > Models to view details.
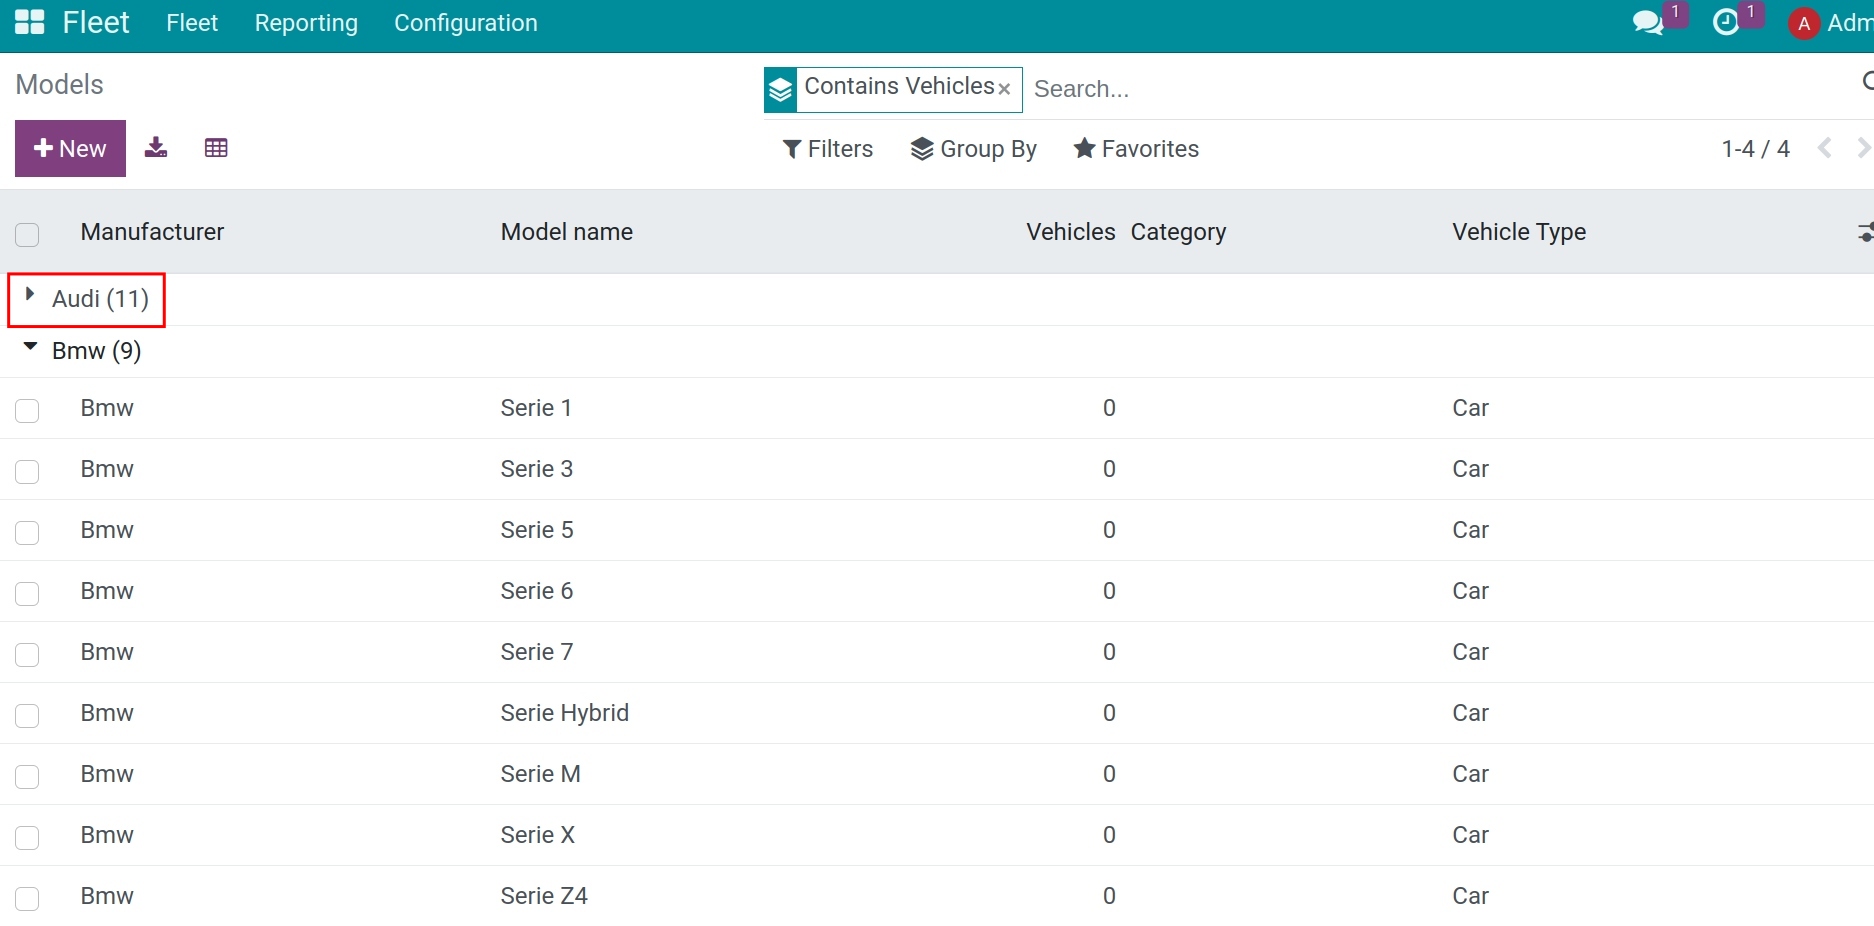
Press New to add a new vehicle model, providing the following information.
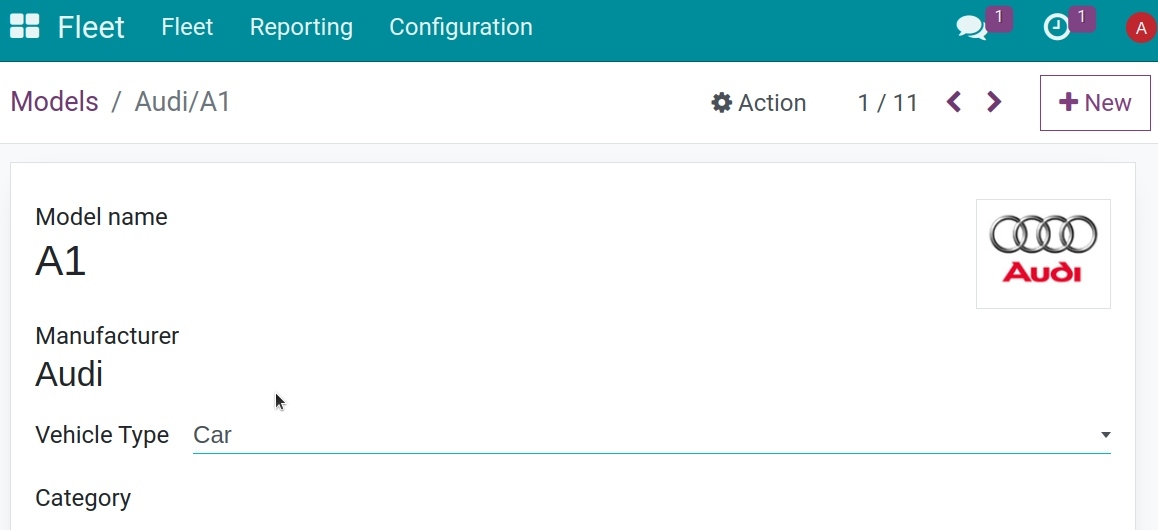
General information
Model name: enter the model name in the field.
Manufacturer: select the manufacturer from the drop-down menu. If the manufacturer is not configured, type in the manufacturer and then click Create or Create & Edit.
Vehicle Type: select one of two preconfigured vehicle types, either Car or Bike, from the drop-down menu
Category: select the category the vehicle is categorized under from the drop-down menu. To create a new category, type in the category and then click Create (new category).
Note
When the manufacturer is selected, the logo for the manufacturer will automatically load in the image box in the top right corner.
Tab Information
Model
Seats Number: enter how many passengers the vehicle can accommodate;
Doors Number: enter the number of doors the vehicle has;
Color: enter the color of the vehicle;
Model Year: enter the year the vehicle was manufactured;
Trailer Hitch: check this box if the vehicle has a trailer hitch installed.
Engine
Fuel Type: select the type of fuel the vehicle uses form the drop-down menu. The options are Diesel, Gasoline, Hybrid Diesel, Hybrid Gasoline, Plug-in Hybrid Diesel, Plug-in Hybrid Gasoline, CNG, LPG, Hydrogen, or Electric.
CO2 Emissions: enter the average carbon dioxide emissions the vehicle produces in grams per kilometer (g/km). This information is provided by the car manufacturer.
CO2 Standard: enter the standard amount of carbon dioxide in grams per kilometer (g/km) for a similar sized vehicle.
Transmission: select the transmission type from the drop-down menu, either Manual or Automatic.
Power: if the vehicle is electric or hybrid, enter the power the vehicle uses in kilowatts (kW).
Horsepower: enter the vehicle’s horsepower in this field.
Horsepower Taxation: enter the amount that is taxed based on the size of the vehicle’s engine. This is determined by local taxes and regulations, and varies depending on the location. It is recommended to check with the accounting department to ensure this value is correct.
Vendors

Press Add to select a specific supplier for each type of vehicle, which may differ from the manufacturer, such as car dealerships, initial vehicle owners (individuals or organizations).
Categories
To effectively manage vehicles, they should be categorized into specific groups. Access Fleet app > Configuration > Categories, then click New to add a category.
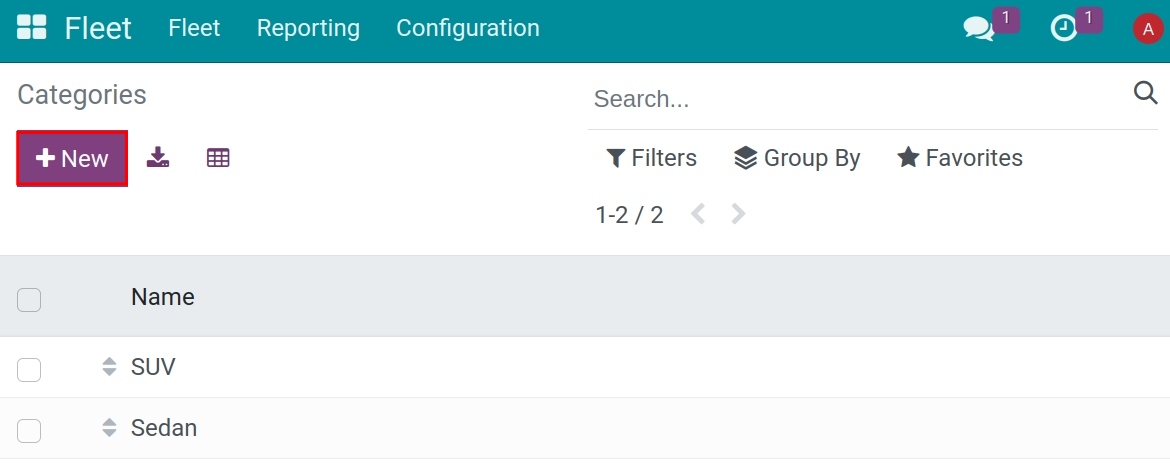
Manage the status of vehicles
Navigate to Fleet > Configuration > Status to create a new status if needed. Viindoo system already has some default status, you can adjust or create a new one based on your company’s flow.

After creating the vehicle’s status, you can see the kanban view based on those statuses when you navigate to the Fleet menu.

You can drag and drop a vehicle to the desired status.
Register a new vehicle
The Viindoo vehicle management application handles all vehicles and associated documents such as maintenance records, driver profiles, etc.
All vehicles are displayed in card format on the Kanban interface, categorized by the status of each vehicle. The software suggests various stages, including: New Request > Needs Scheduling > Inspection Completed > Downgraded.

To add a new vehicle to the list, click on New and fill in the following information:
General information of the vehicle
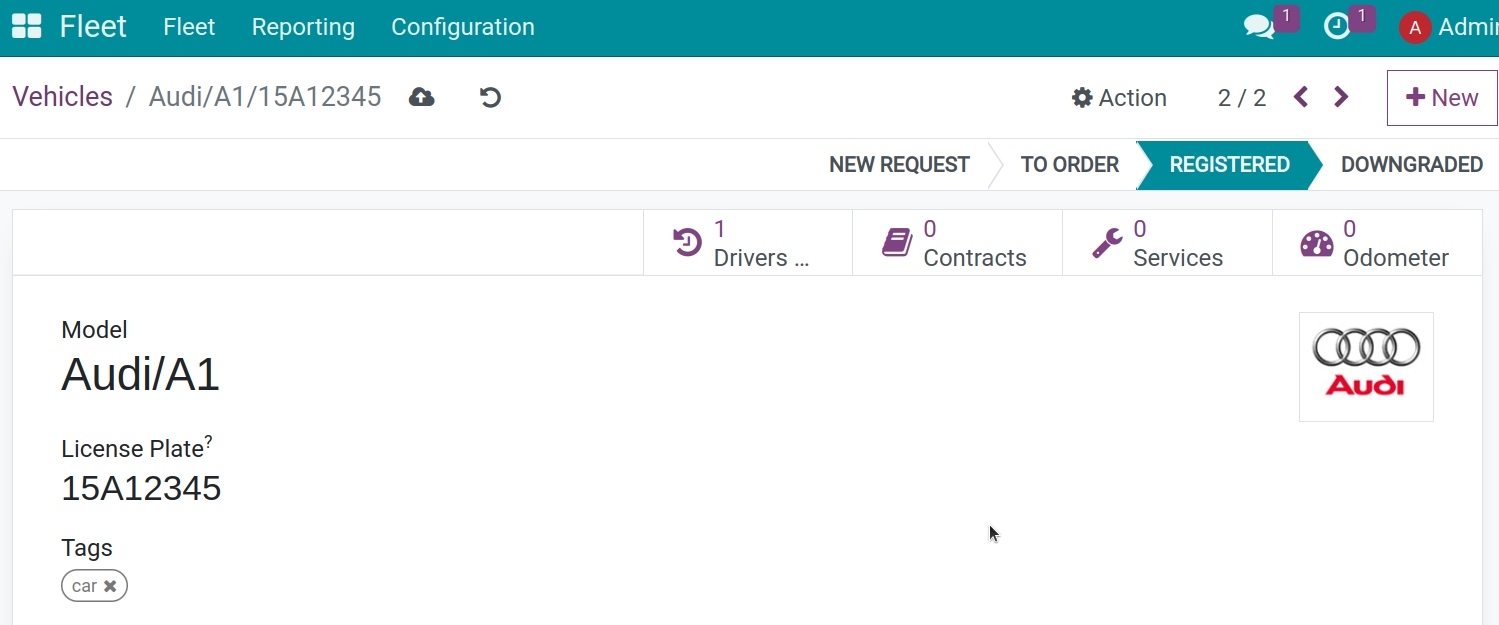
Model: select the vehicle’s model from the drop-down menu. If the model is not listed, type in the model name and click either Create or Create and Edit.
License Plate: enter the vehicle’s license plate number in this field.
Tags: select any tags from the drop-down menu, or type in a new tag. There is no limit on the amount of tags that can be selected.
Driver section
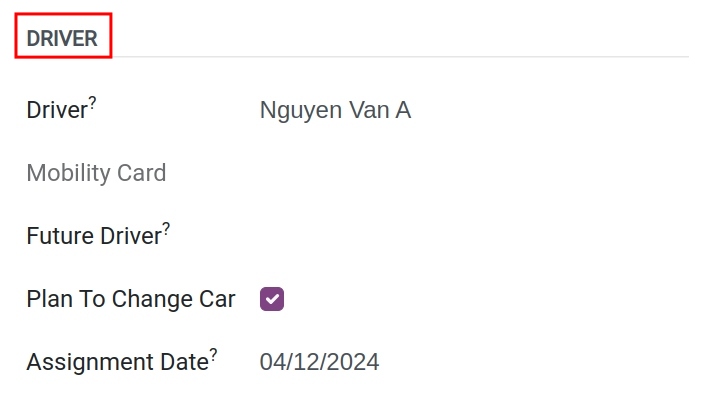
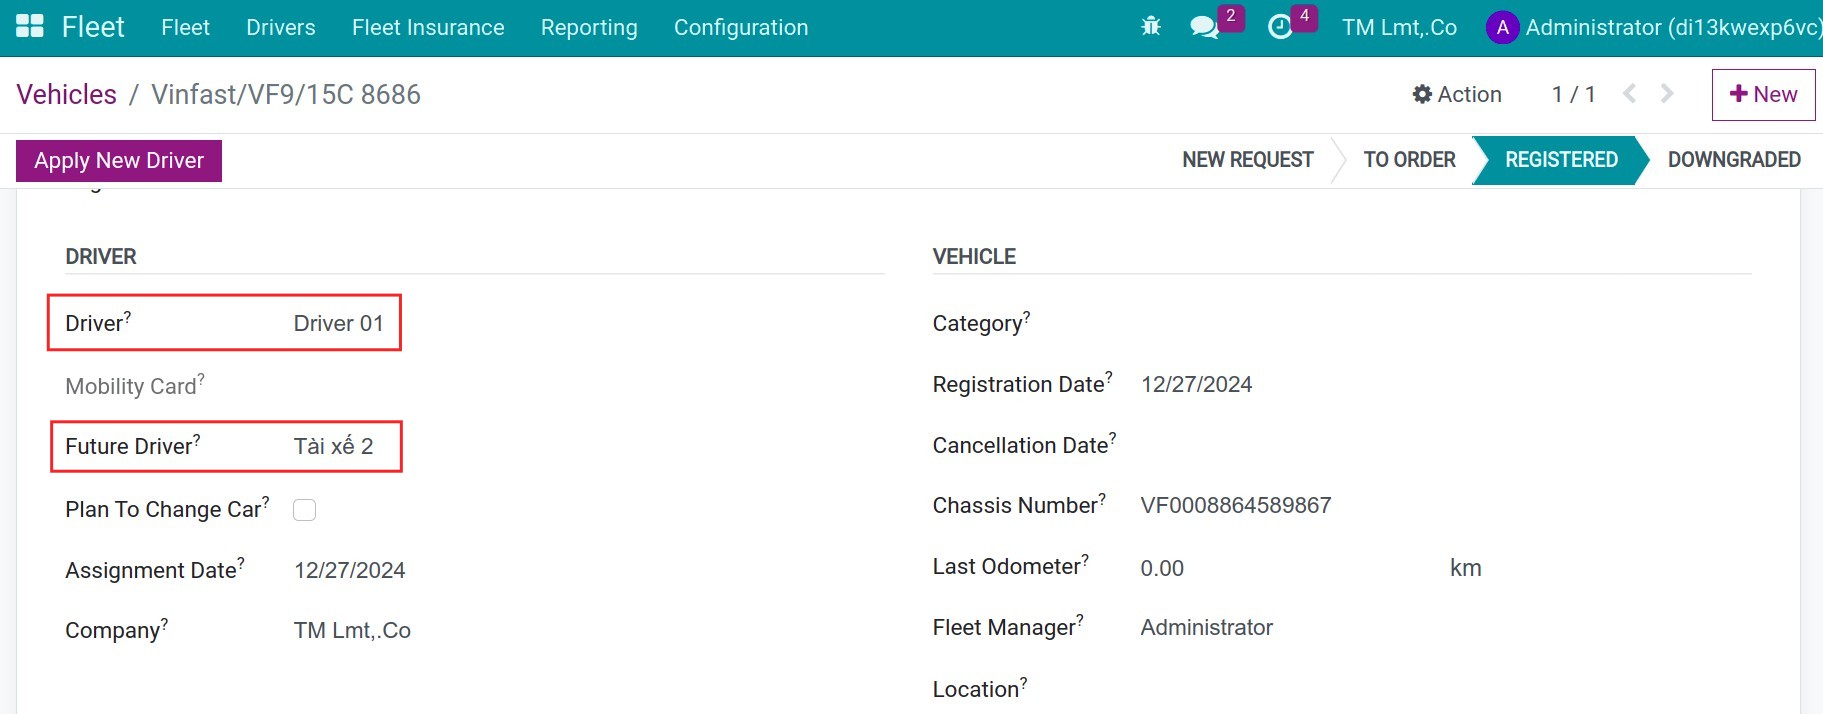
Driver: select the driver from the drop-down menu, or type in a new driver and click either Create or Create and Edit.
Mobility Card: if the selected driver has a mobility card listed on their employee card in the Employees application, the mobility card number will appear in this field. If there is no mobility card listed and one should be added, edit the employee card in the Employees application.
Future Driver: if the next driver for the vehicle is known, select the next driver from the drop-down menu, or type in the next driver and click either Create or Create and Edit.
Plan To Change Car: if the current driver set for this vehicle plans to change their vehicle, either because they are waiting on a new vehicle that is being ordered, or this is a temporary vehicle assignment and they know which vehicle they will be driving next, check this box.
Assignment Date: select the date the vehicle will be available for another driver using the drop-down calendar. If this field is blank, this indicates the vehicle is currently available and can be reassigned to another driver. If it is populated, the vehicle will not be available to assign to another driver until the date entered.
Vehicle section
This section will declare information related to the specifications of the vehicle for better management.
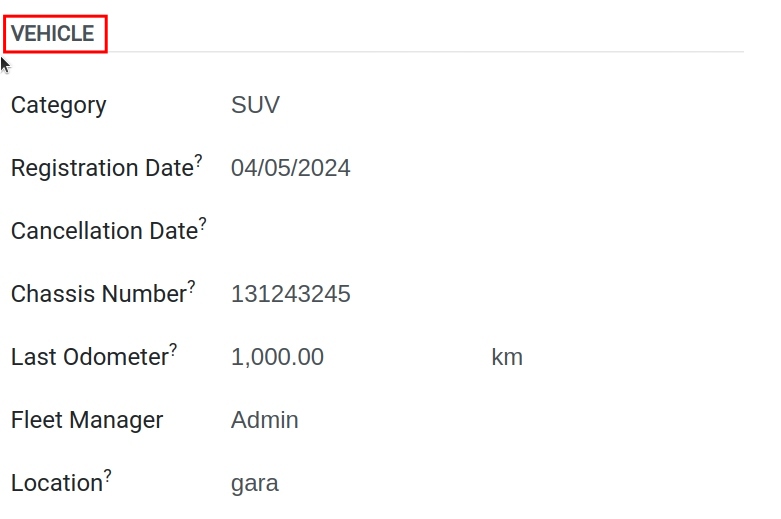
Category: select the vehicle type based on the available categories.
Registration Date: select the date the vehicle is acquired using the drop-down calendar.
Cancellation Date: select the date the vehicle lease will expire, or when the vehicle will be no longer available, using the drop-down calendar.
Chassis Number: enter the chassis number in the field. This is known in some countries as the VIN number.
Last Odometer: enter the last known odometer reading in the number field. Using the drop-down menu next to the number field, select whether the odometer reading is in kilometers (km) or miles (mi).
Fleet Manager: select the fleet manager from the drop-down menu, or type in a new fleet manager and click either Create or Create and Edit.
Location: type in the location for the vehicle in the field.
Tax Info tab

Fiscality
Horsepower Taxation: enter the amount that is taxed based on the size of the vehicles engine. This is determined by local taxes and regulations, and varies depending on the location. It is recommended to check with the accounting department to ensure this value is correct.
Contract
First Contract Date: select the start date for the vehicle’s first contract using the drop-down calendar. Typically this is the day the vehicle is purchased or leased.
Catalog Value (VAT Incl.): enter the MSRP (Manufacturer’s Suggested Retail Price) for the vehicle at the time of purchase or lease.
Purchase Value: enter the purchase price or the value of the lease for the vehicle.
Residual Value: enter the current value of the vehicle.
Model tab
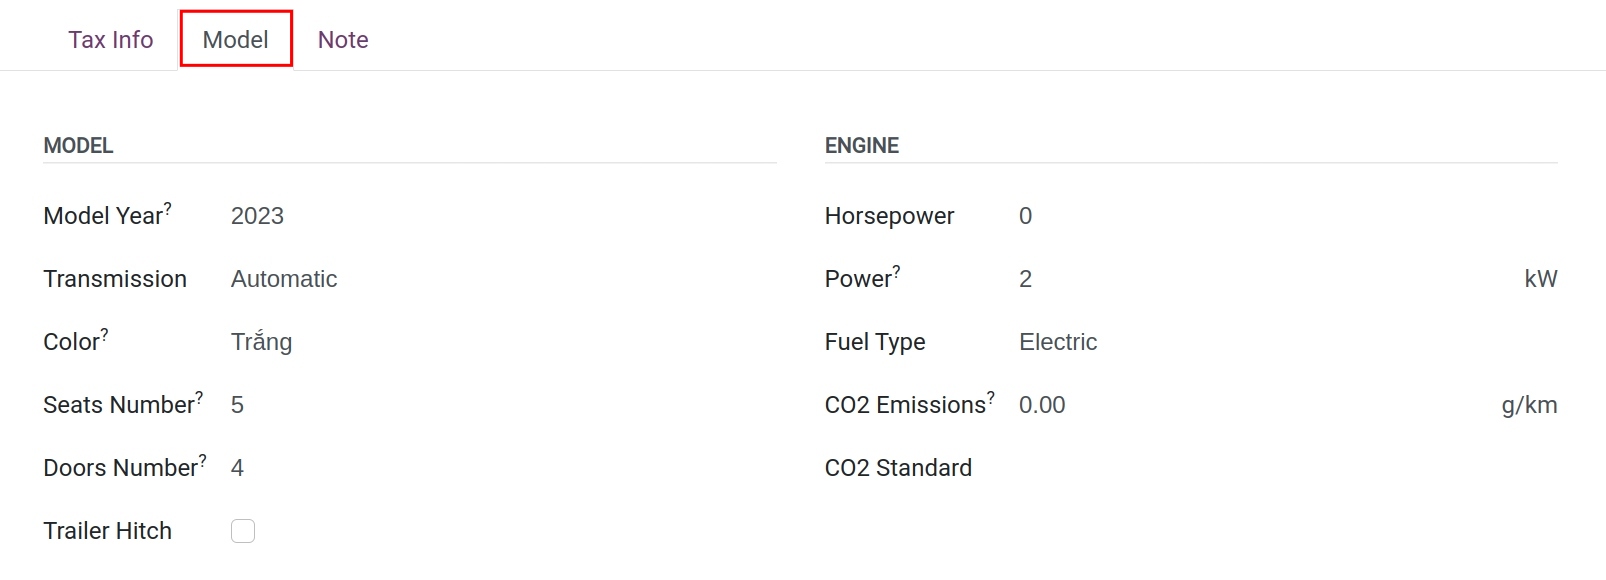
The vehicle model information will be retrieved from the data stored in Models that have been previously configured in the setup section. If the model information is not available in the database, you should revisit the configuration section to create it anew. This will help avoid redundant data entry for a vehicle model.
At this point, in the model tab, you only need to review the parameters and ensure their accuracy.
Note tab
Enter any notes for the vehicle in this section.
Manage the vehicles’ documents
Navigate to Fleet > Configuration > Insurance Types to create a new types. Viindoo system already has some default types, you can adjust or create a new one based on your company’s flow.
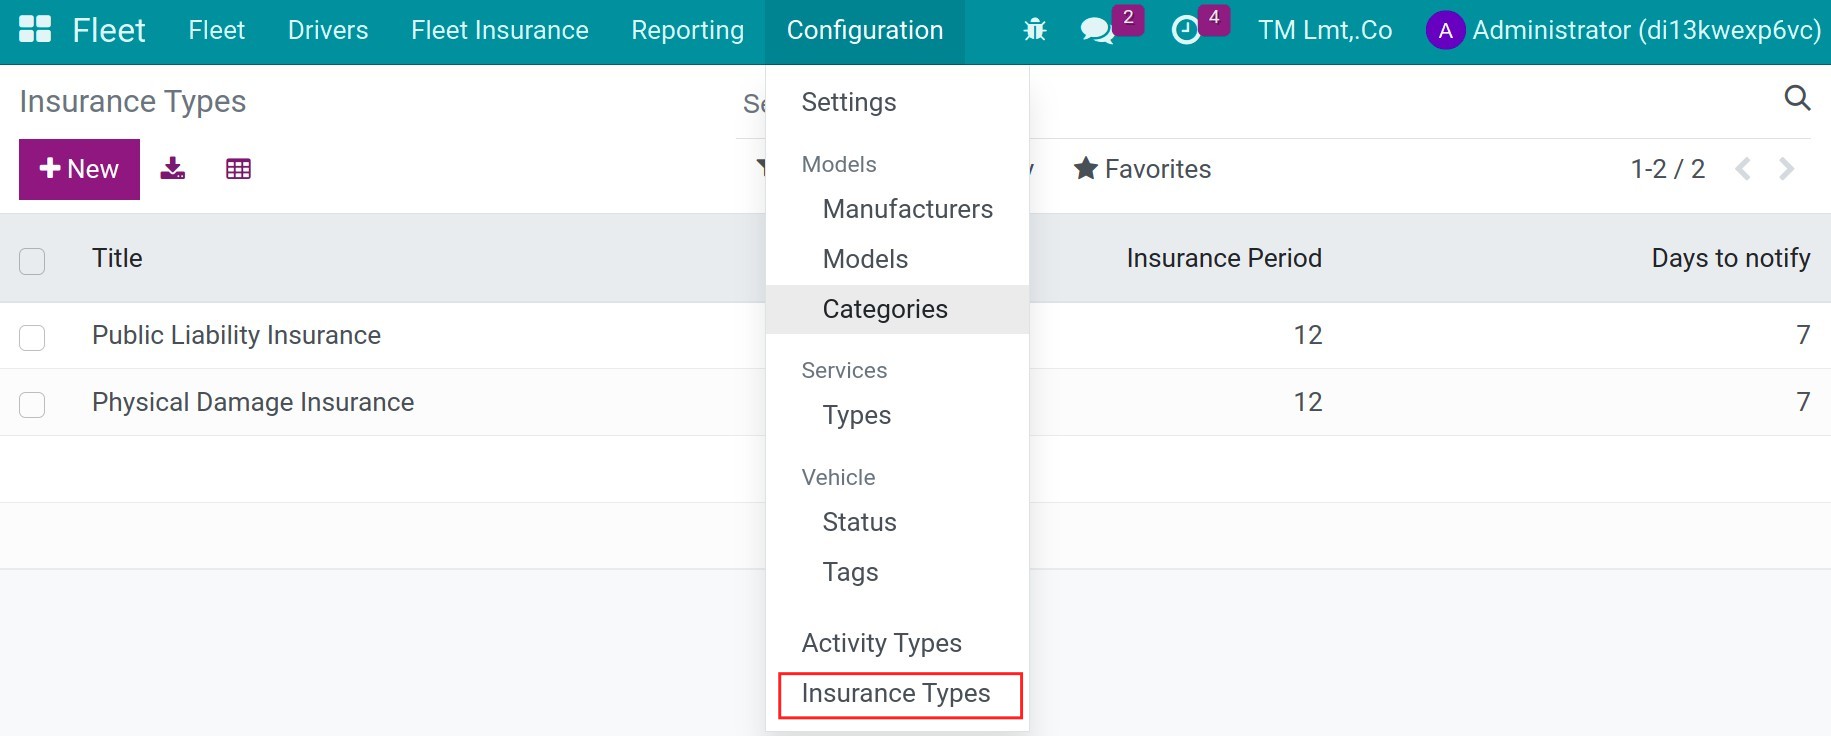
Title: Name the insurance type.
Insurance period: Input the valid period of this type.
Days to notify: Input the number of days before the expiry to notify the insurance’s followers.
Navigate to Fleet > Fleet Insurance to create a new insurance for the vehicle.
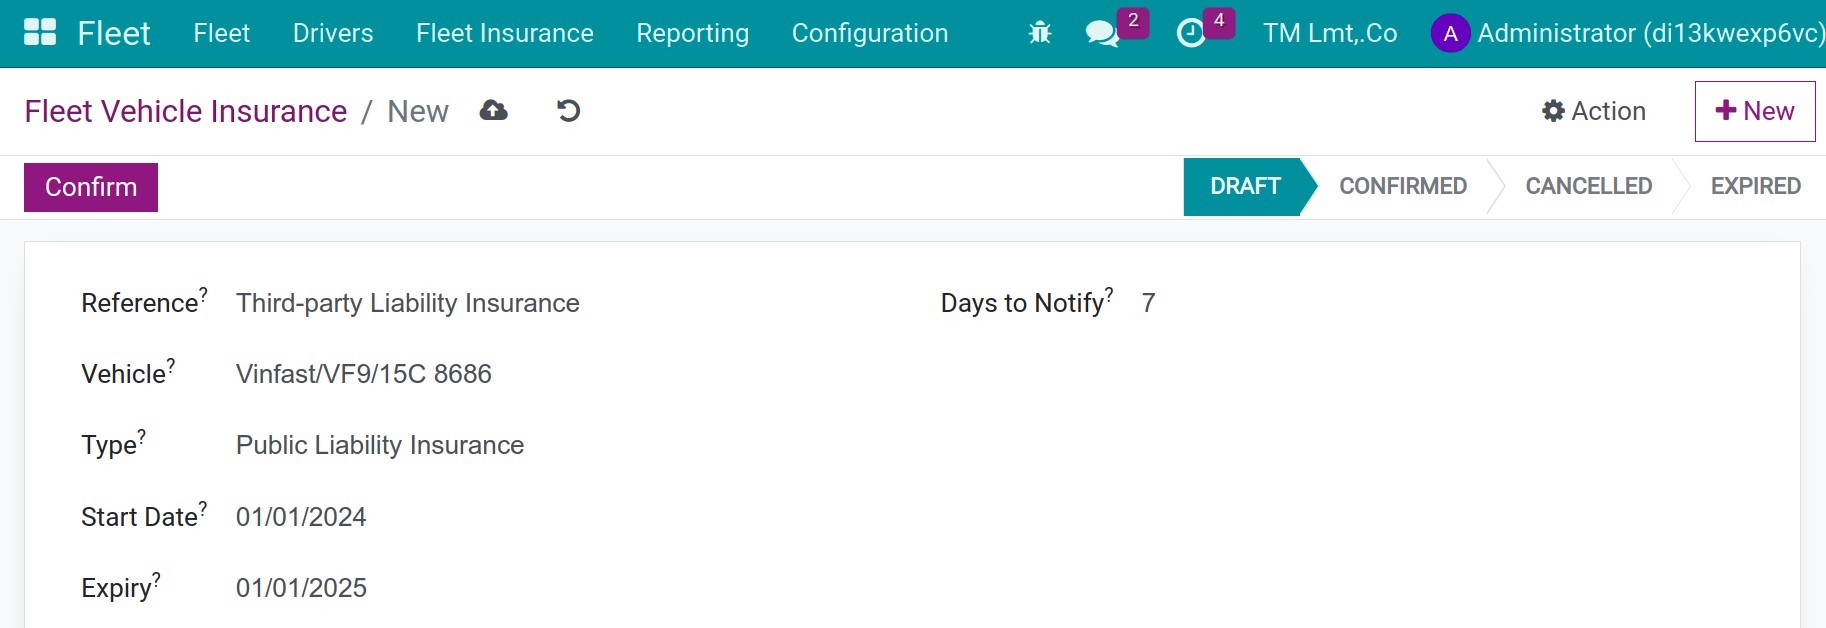
Reference: Name the insurance of the vehicle.
Vehicle: Choose the vehicle in the existing list.
Type: Choose the insurance type.
Start date: Input the date of starting the insurance.
Expiry: The system will calculate automatically.
Days to notify: Input the number of days before the expiry to notify the insurance’s followers. This number will be defaulted from the insurance type, but you still can change it.
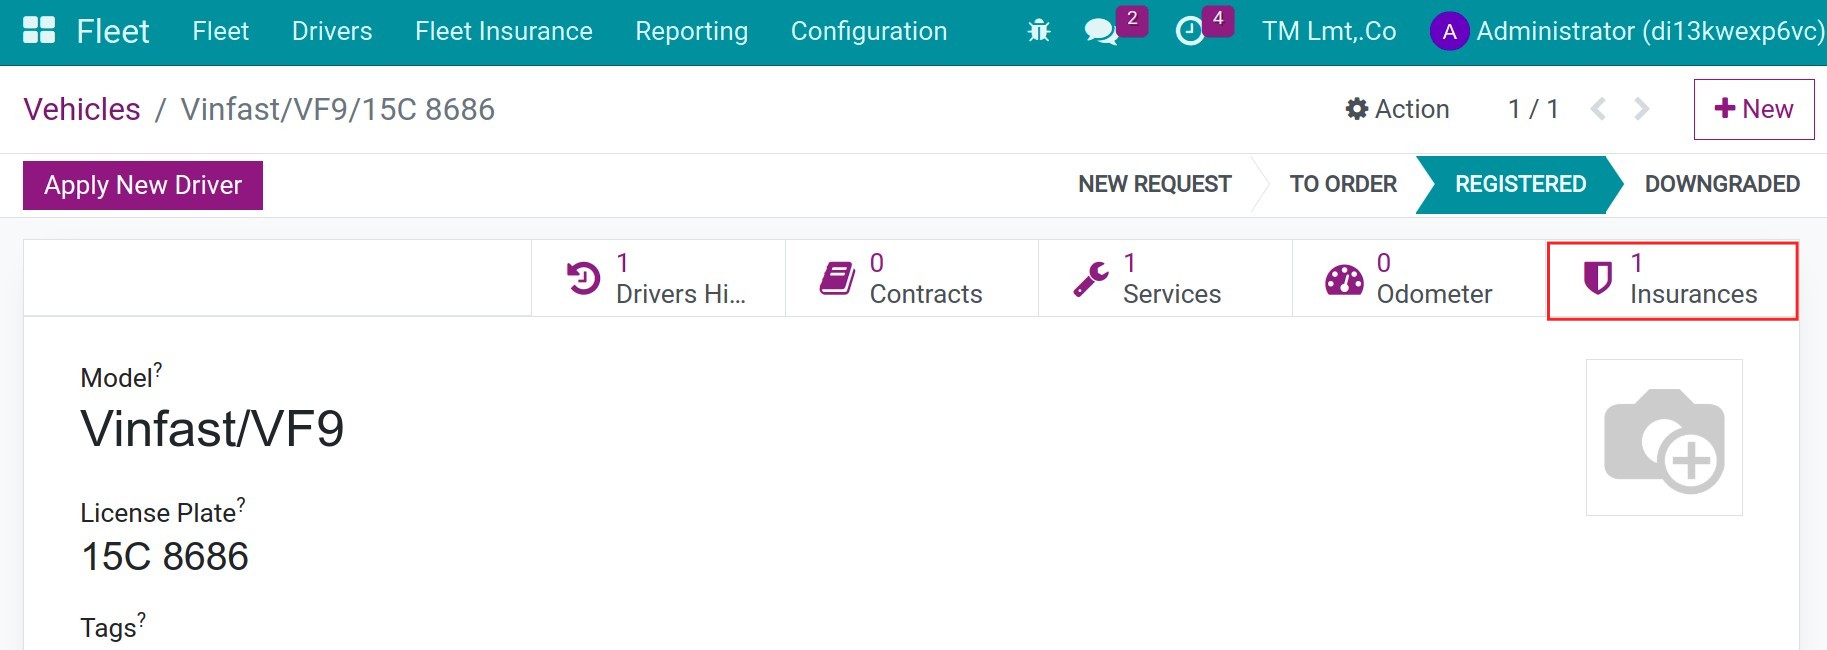
Press Confirm to end. And then, back to the fleet interface, you will see the list of this vehicle’s insurances.
Manage list of drivers
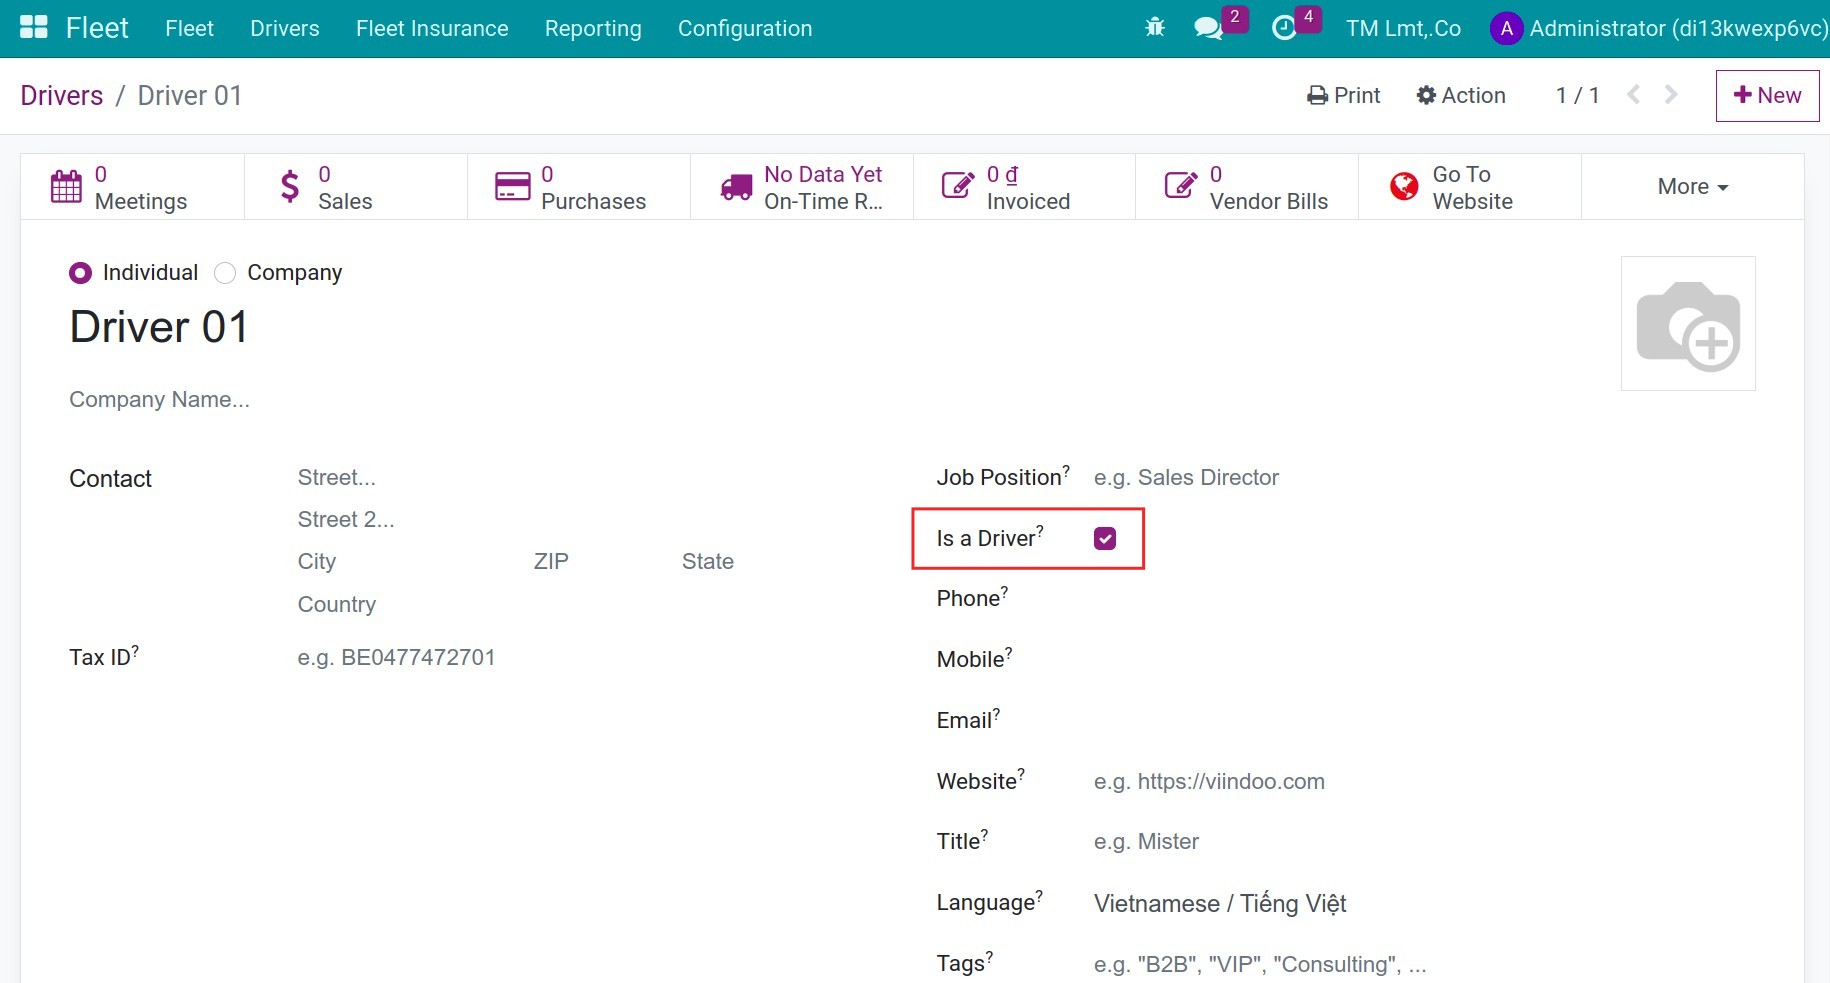
Navigate to Fleet > Drivers to see or create the list of drivers. The drivers are the contacts in the system and have an active Is a Driver feature.
On the fleet interface, you can choose the first driver who has the main responsible with the vehicle. Beside, you can define the future driver.
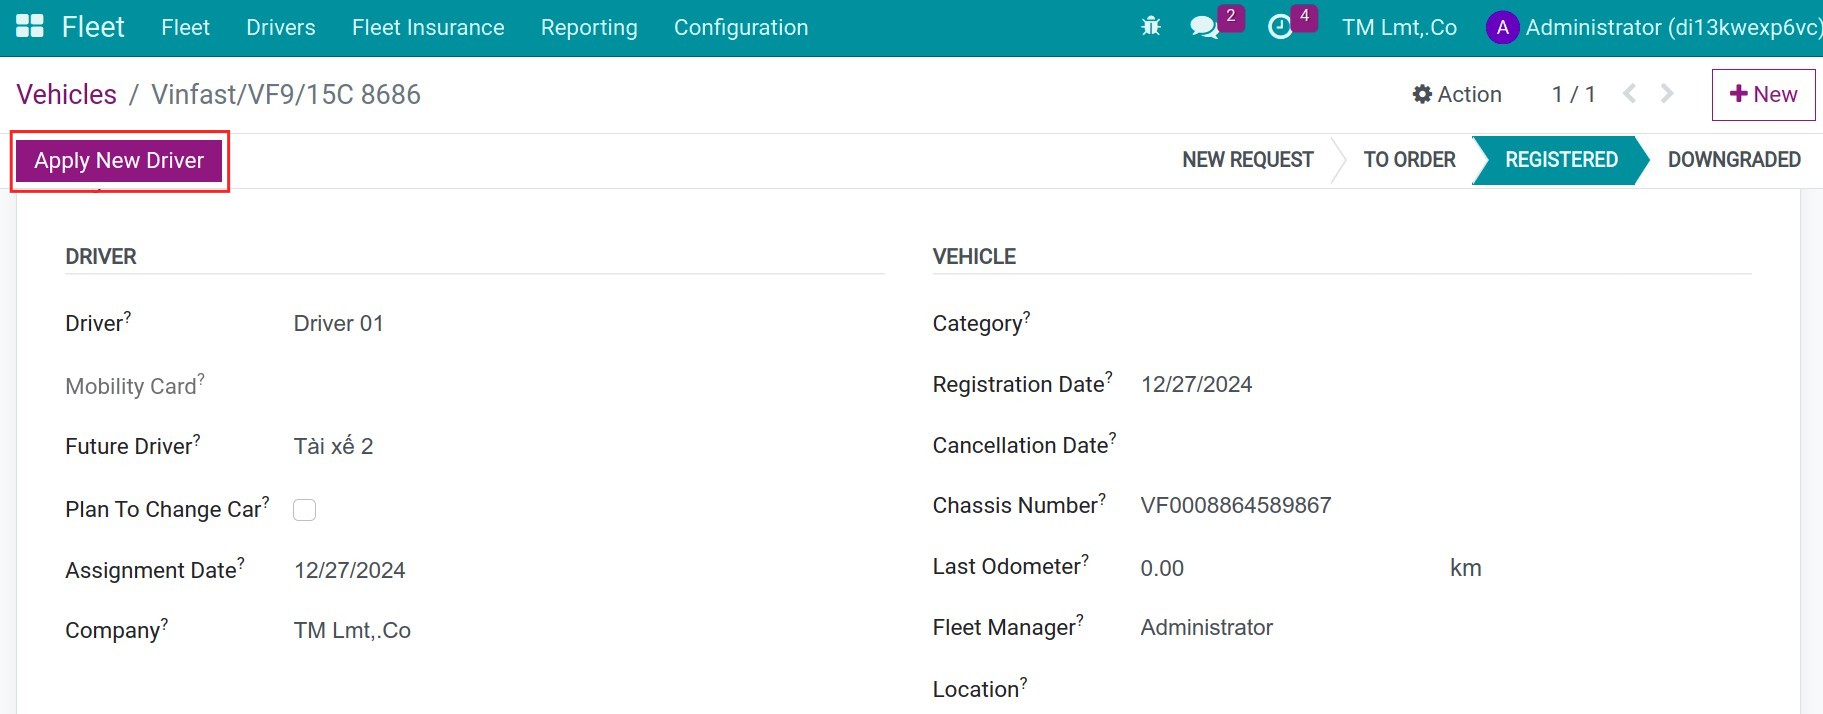
When you need to change driver, press to the button Apply New Driver.
Then you can see the Driver Histories.


See also
Related article
Optional module